Design to live faster with Framer
One-click install, mail debug, wp-cli and environment switching.
These functions will make your work easier whether you are developing WordPress plugins or themes.
LocalWP is totally free and helps us sync our local development with Flywheel and WPEngine hosting services.
There are some easy-to-manage local web servers applications like ServerPress, WAMP Server, XAMPP, and Vagrant.
Although this application is optimized for team projects, I personally prefer LocalWP for exploring, testing, and developing plugins and themes. It perfectly matches my needs.
LocalWP was developed with Electron technology. Previously the old version had a lack of its performance, this time LocalWP no longer uses virtual boxes in its application architecture in order to manage the Wordpress installations.
This core architecture migration is now much faster. It took around 5 minutes to install Wordpress locally with relatively small download sizes.
There are several options you can do when you build and deploy your Wordpress website.
You can either:
Direct change on the live site, make staging state of the site or set up the development environment locally.
You must have your own preferred method for this process.
People who are still unfamiliar with Wordpress local development may have questions about when we should use the Local development environment.
In some conditions, developing the site locally will give a certain benefit.
Like:
- If you have a slow connection to the internet or you are on travelling but have projects that must be done.
- For some security and server performance reasons, the local environment is the best choice I think.
- The other benefit that I always like is when we want to test themes and plugins before I decide to use them.
Installing LocalWP for local development
Let's get started with How to install the LocalWP application.
You can head over to the Local WP official website, and then download the installer.
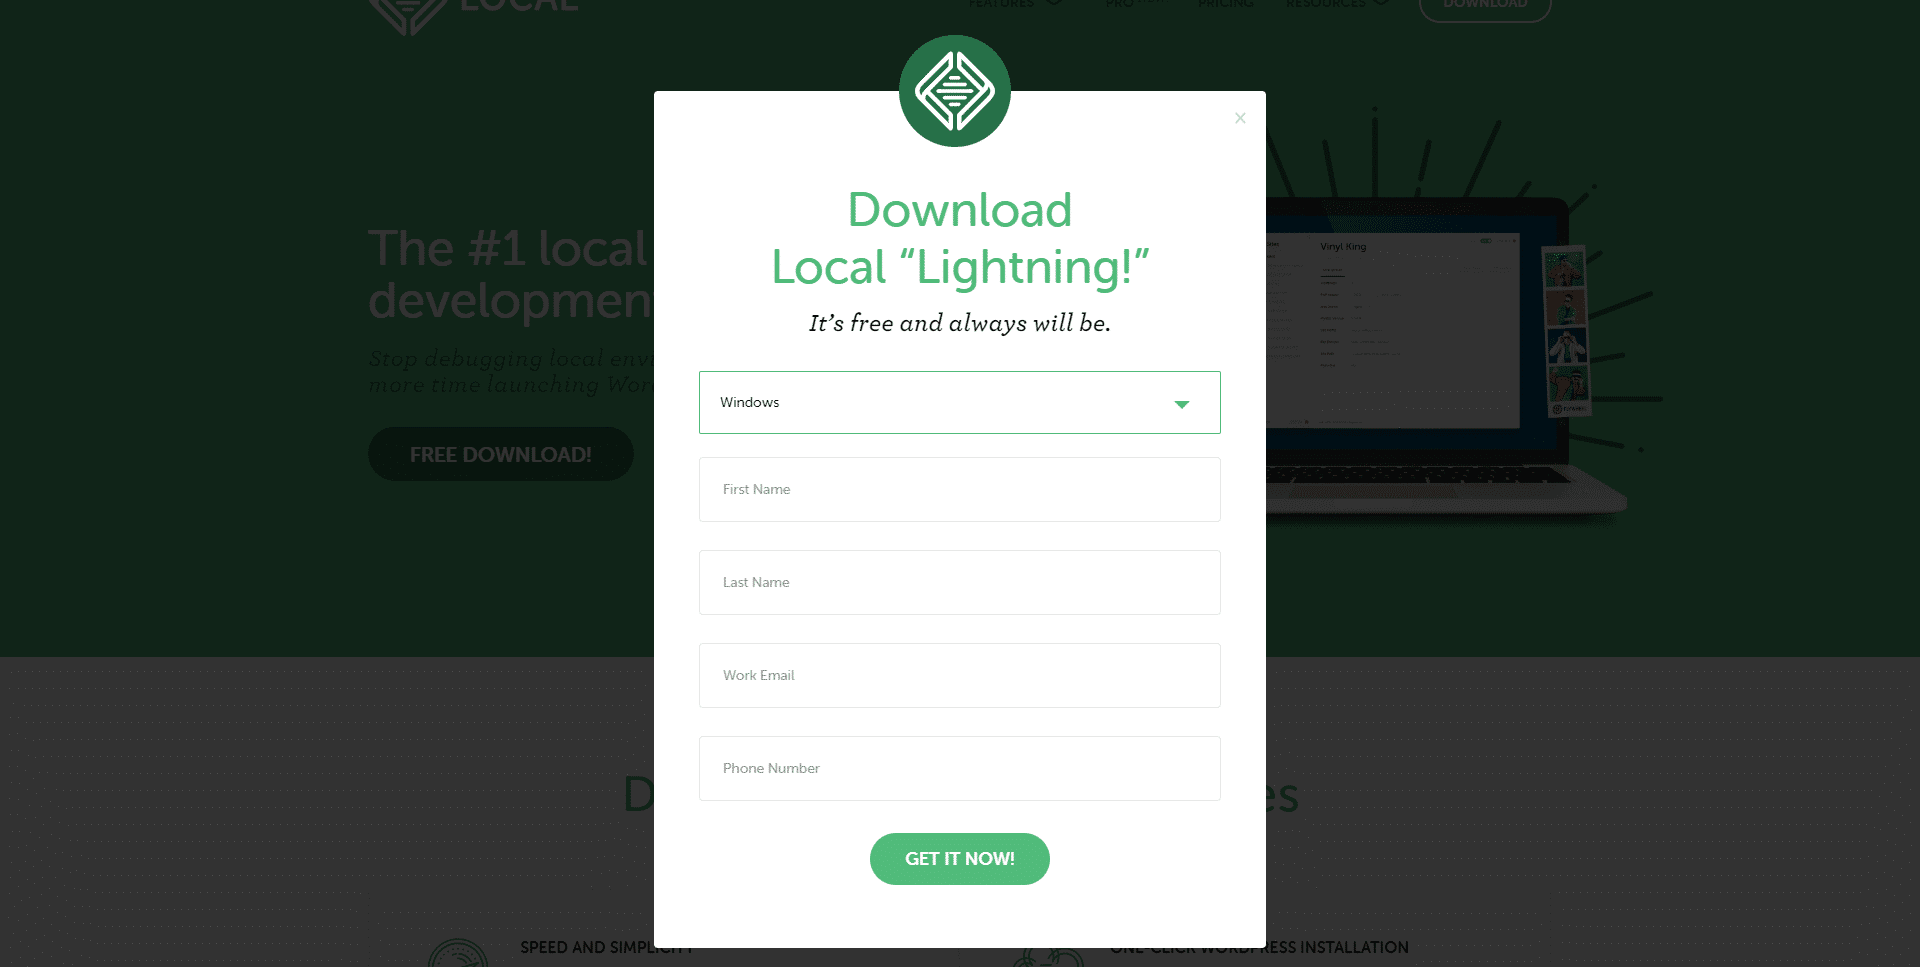
Choose your OS and you will need to fill in some details of your info.
After completing filling out the form and downloading the installer. Run the installer and follow the instructions.
Once the installation is finished, launch the application to see the dashboard and we can start installing Wordpress using LocalWP.
Create New Site
Create Wordpress site using localWP as easily as clicking buttons.
There is an obvious button "Create New Site" if you don't have a current Wordpress installation on the list, you can just click this button or click on the bottom left corner button with the sign "+".
Those buttons will open the installation steps.
Fill the Site name in the field, if you expand the "Advanced option" from the bottom of the site's name field, you will have an additional configuration.
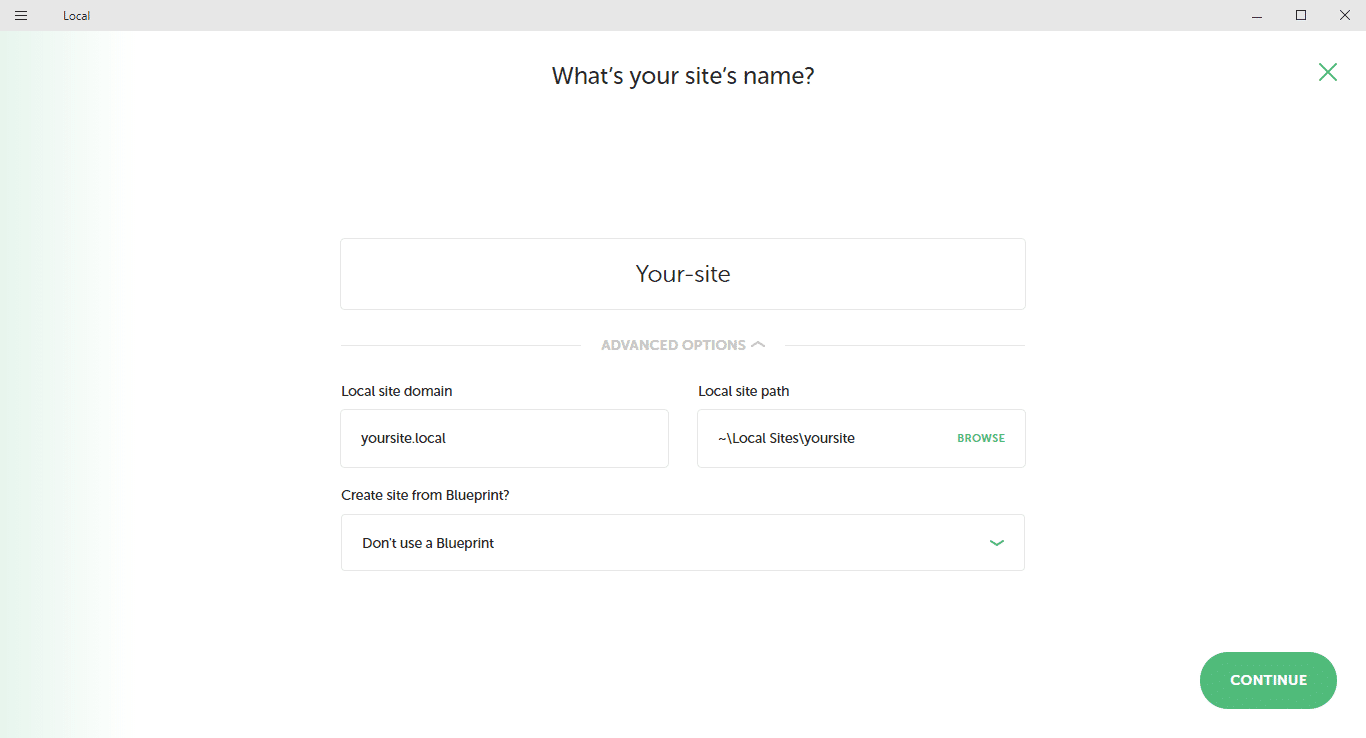
On this option, you can change the local site domain name, change the installation path folder, and choose blueprint if you have the ready-made installation.
Click Continue to proceed. You can also change the site name and domain name later.
Environment Setup
You will have two server options in the environment setting.
Choose "Preferred" if you want to use the default setting of the Local.
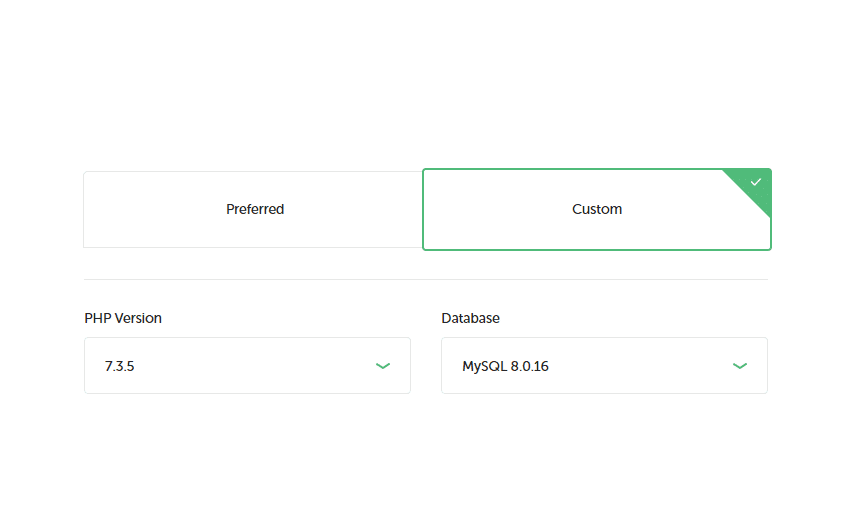
Or choose "Custom" so you can choose the :
- PHP Version: you can choose from the list, including the latest version.
- Database: You can choose between MySQL version or MariaDB
Click Continue to proceed to the last installation steps.
Wordpress Setup
This last installation step is to set up the Wordpress admin user by fill the "username" and "password" field.
If you need to make the Wordpress multisite you can just expand the "Advanced Option" the select "yes" for the multisite questions field.
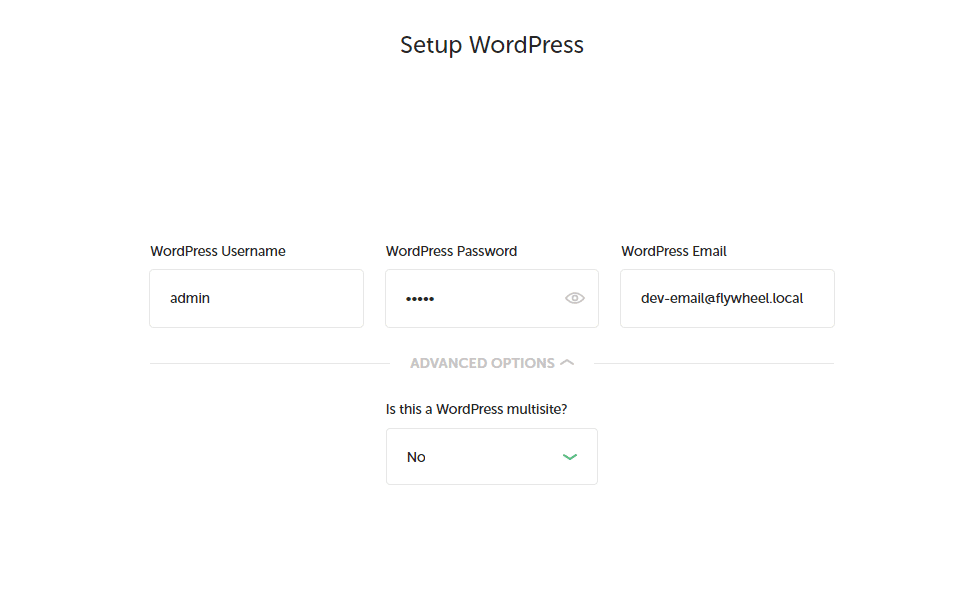
Click "Add Site" to proceed with the installations.
LocalWP will ask your permission, select "yes" if your OS needs permission to add the new host in the system.
Once the installation is completed, you will see the site on the local sites list.
Develop and sync with ease using WPEngine
Open Database
To open the database, you can select the "Database" tab form the selected site. Then select "Open Adminer" form the list.
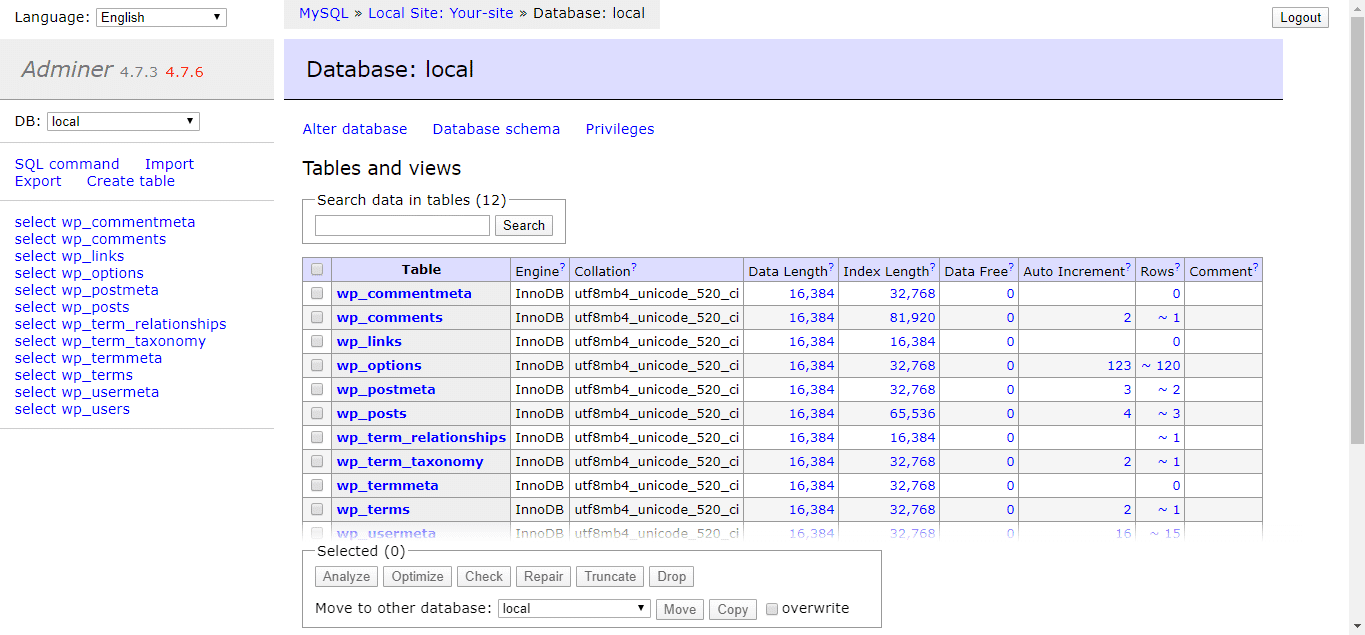
Although Adminer's user interface differs from PhpMyAdmin's, it accomplishes the same tasks.
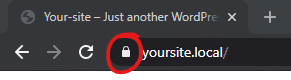
Make a trust SSL
SSL needs to run in a local environment in certain development cases. The LocalWP application provides an SSL feature with just one click.
In the Overview tab, you can enable SSL by clicking "Trust" on the SSL row. LocalWP will configure SSL automatically for you.
Make sure SSL is enabled by accessing the site with "https://" on the address bar, you should see a padlock.
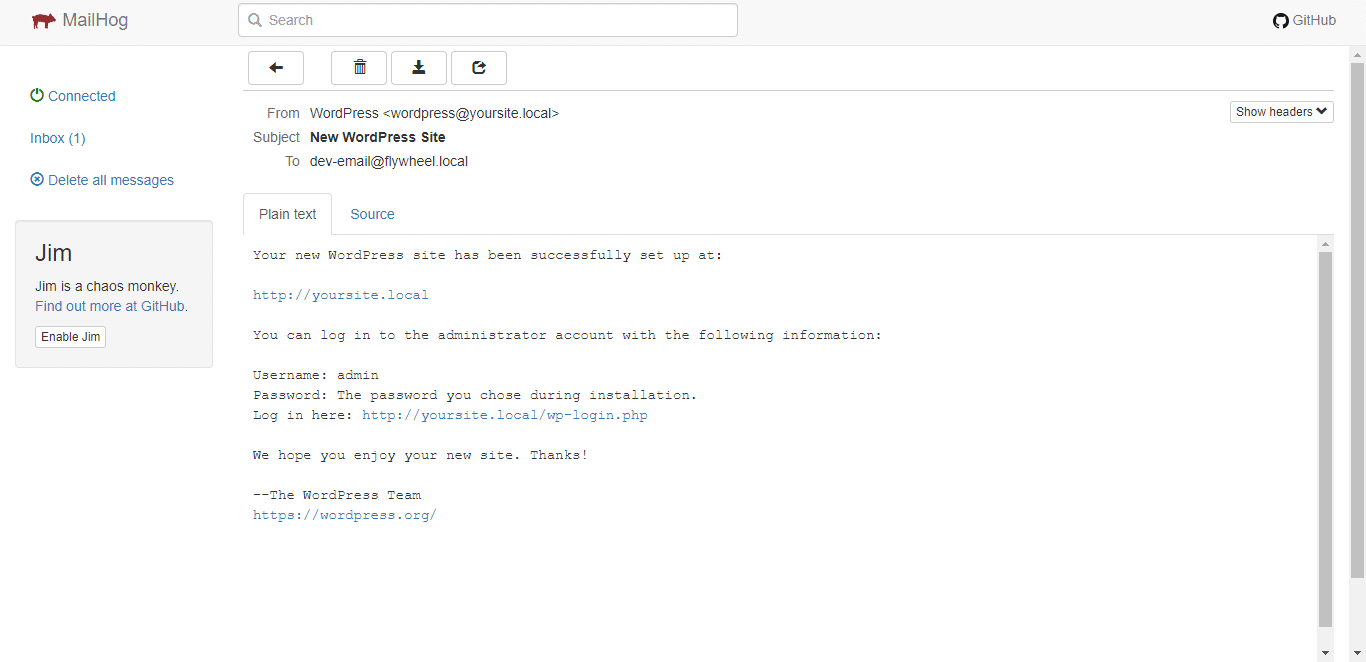
Accessing The Email
To make debugging easier, LocalWP uses Mailhog modules to log all the emails for use in debugging and troubleshooting. You don't need an extra mail server to test the mail functionality.
To view the email logs, you can go to the "Utilities" tab, then select "Open Mailhog". You can see email logs.
Accessible URL with Live Link
The Live Link feature can be used to make the local installation accessible on the Internet.
There was a time when this feature was only available to Pro users but now it is available to all users who wish to use this feature free.
With the "Live Link" button enabled, you will be able to share securely a URL link with other devices as long as you are also online.
This useful link can be used for a preview of a collaboration project with the clients or team. The links will be assigned uniquely which makes the URL remain consistent across sessions.
Blueprint as a Template
Creating and configuring WordPress multiple times can be tiresome, but with the blueprint feature, you can save your standard setup including themes and plugins you will always use as a template.
Set your common stack of themes and plugins on the specific installed WordPress, right-click on the site name, and choose "Save as Blueprint".
Now, you can reuse the site for your next installation.
Keep in mind that a blueprint is a snapshot, this means the version of your themes and plugin is in a specific state.
You will need to update and resave the installation as a Blueprint.
Summing Up
Now you can create an easy WordPress installation on your local computer. You can easily develop, experiment or test for projects.
Despite the fact that LocalWP is tailored for WordPress sites in local development, it is still important to keep in mind the server configuration of your target server/hosting. Make sure it has the same web server, PHP version, and database type as your target site.